Congratulations on purchasing a Seed and Soil All-In-One Grow Kit! You’re on your way to a rewarding cannabis growing experience. If you’re still considering a purchase, this guide will provide insight into our grow kits and the care and effort we put into each one. Follow these step-by-step instructions to get started.
What's in the Box?
Each kit includes the following items:
1x Pot (plastic or fabric)
1x Drip Tray
5x Craft Soil Blended Bags (no# 1 – 5)
1x Seed Pack (2pc)
1x Plant Tag
2x Nutrient Solutions
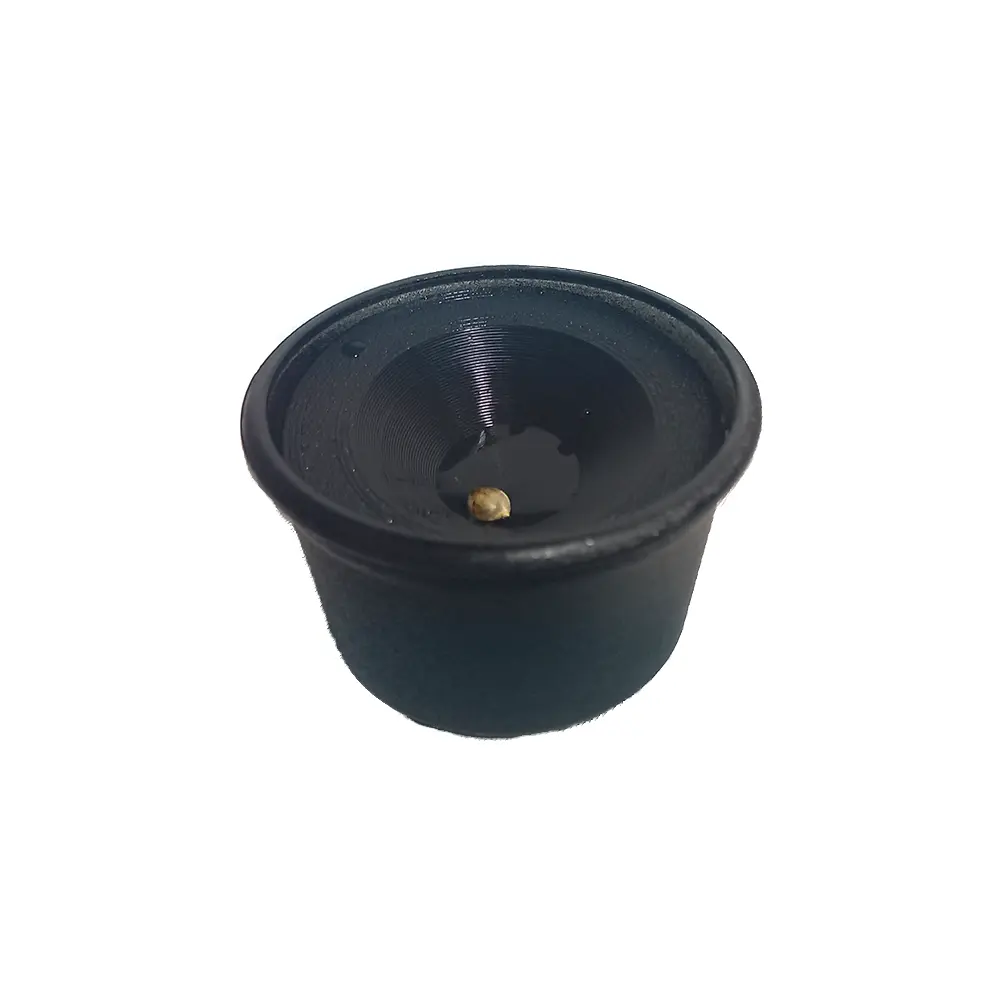
1x Germination Pod
1x Humidity Cup
1x Measuring Spoon
1x Grow Tips Booklet
1x Grow Guide Manual
Step 1: Germinate Your Seeds
Germinating your seeds is the first exciting step. Use the germination pod provided or another trusted method like a wet paper towel:
Prepare the Pod: Fill the bottom cup with bottled water up to the line. Place the funnel-like middle piece over the bottom cup and clip it into place. Make sure there’s only a few drops of water in the middle funnel to soak your seed.
Soak the Seed: Place your seed into the water, gently dunk it once, and cover the pod. Place it in a warm, dark area (around 25°C and 65% humidity).
Wait and Watch: After soaking your seeds for 24-48 hours. You should see the outer shell crack open and a small white root appear. Some strains take longer, so be patient. If no root appears after four days, the seed might be a dud.
Pro Tip: If both seeds provided in the kitdo not germinate, check our terms and conditions and contact us for a free replacement.
Step 2: Prepare Your Soil
While your seeds are germinating, let’s prepare the soil:
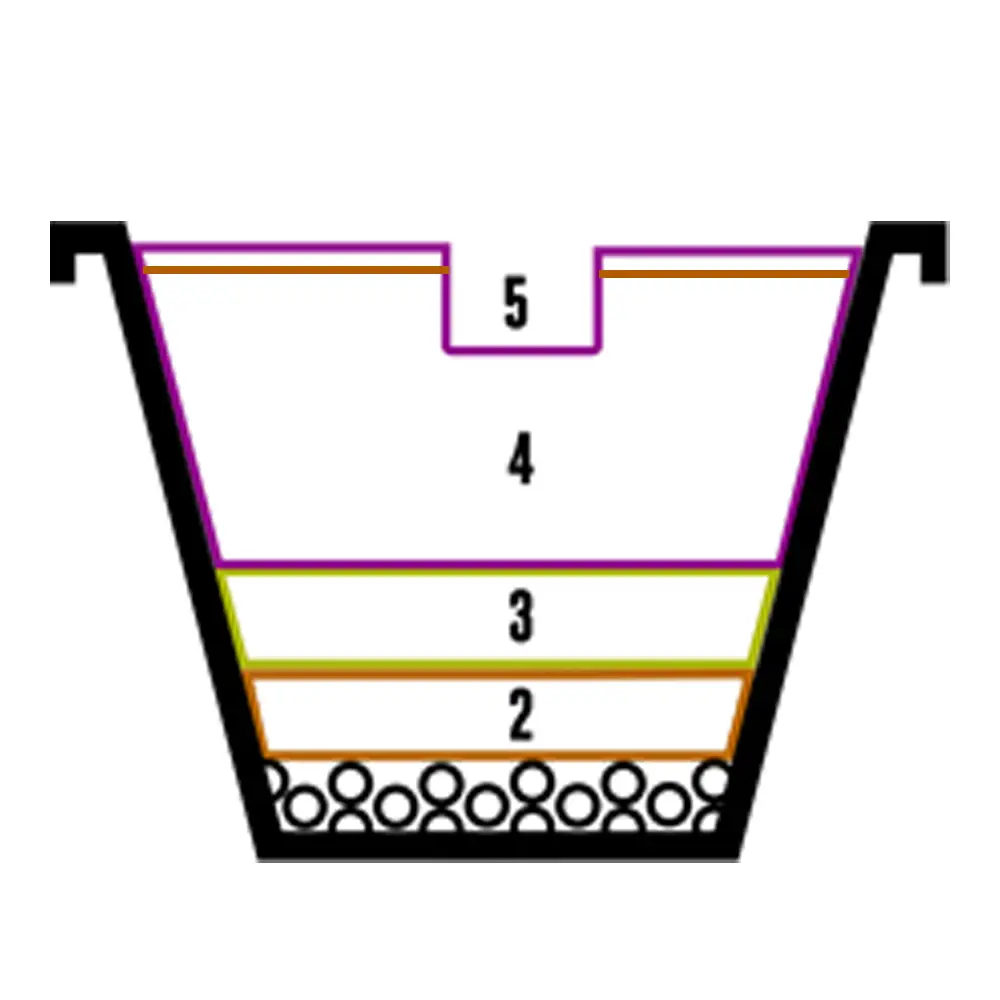
Layer the Soil: Start with bag no. 1 (leca clay balls for drainage), followed by bags no. 2 and 3. Gently water each layer as you add it to moisten without drowning.
Mix and Fluff: After adding bag no. 4, mix and break up the soil until it’s light and fluffy. Dig a small hole (5cm x 5cm) in the center and add bag no. 5 (special seedling mix). Water the entire pot lightly.
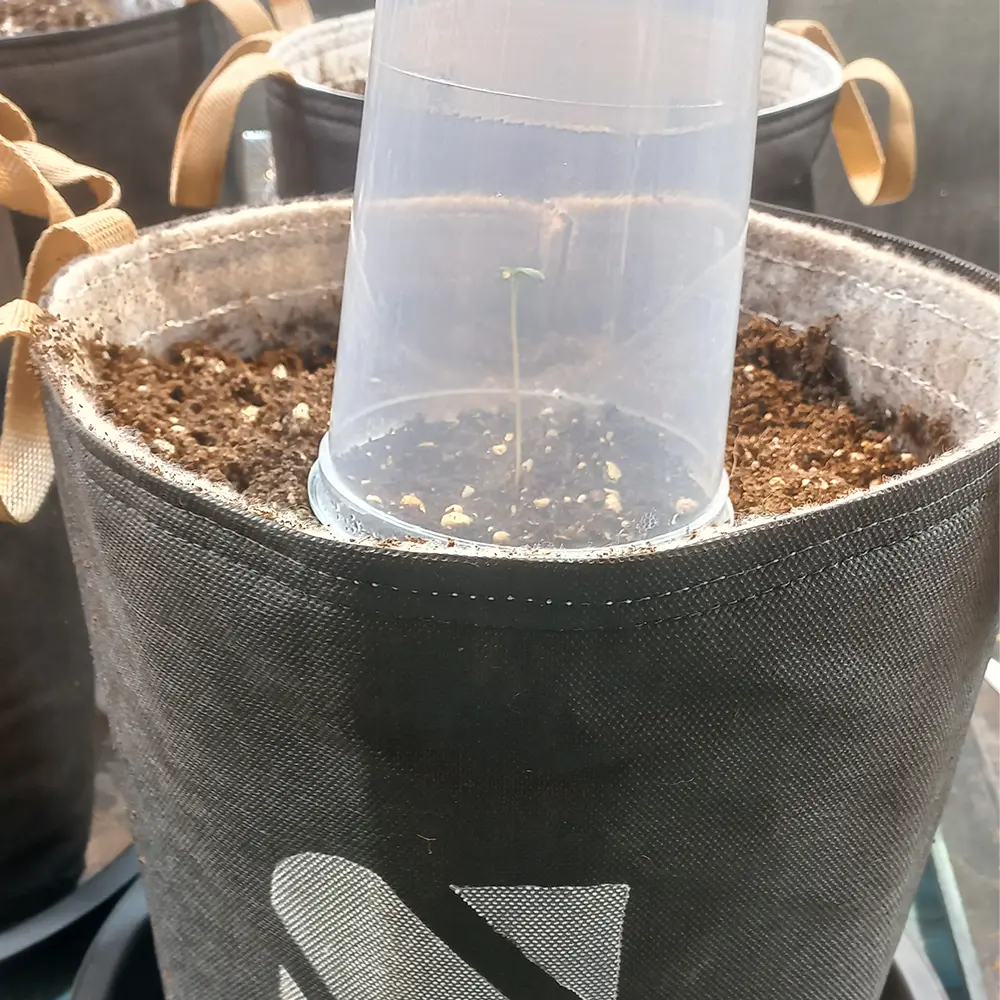
Plant the Seed: Once your seed has germinated, plant it 1 knuckle deep in the center of the pot. Cover with soil and water the area with the remaining water from the pod. Place the humidity cup over the planted seed to keep it moist.
Step 3: Planting Your Seed
By now, your seed should have sprouted a small taproot. If not, give it a bit more time. When ready:
Prepare the Hole: Make a small hole (1.5-2cm deep) in the center of the soil.
Plant the Seed: Use the provided spoon to place the seed in the hole without touching it. Try to position the root downward, but don’t worry if it’s not perfect.
Cover and Moisten: Gently cover the seed with soil and moisten the top layer with a few milliliters of water from the pod or a spray bottle. Place the humidity cup over the pot. Your plant should sprout within 2-5 days. Maintain a temperature of 22-28°C for optimal results.
Watering Schedule
For the first week or two, your plant won’t need much water. The humidity cup helps keep the soil moist.
First 21 Days: Water once a week or less.
Week 3 to Week 6: Water every 3-5 days, depending on temperature.
Final Weeks: Water more frequently, but always check the pot’s weight to judge moisture levels. Water slowly and away from the stem, using 2-3 liters per pot.
Pro Tip: The top soil may seem dry, but the deeper layers remain moist. Overwatering is more harmful than underwatering.
Nutrients
Your grow kit includes two nutrient bottles:
Bottle #1 (Veg): Use from week 2 onward, mixing 5ml with 2 liters of unchlorinated water.
Bottle #2 (Bloom): Use from weeks 4 to 8, mixing 5ml with 2 liters of unchlorinated water.
Pro Tip: Nutrients are optional. The soil mix already contains necessary nutrients. Overfeeding can harm your plant, so stick to the recommended schedule.
Pest Control
Ensure good airflow to prevent pests and mold. Use a fan indoors and monitor for issues like white powdery mildew and spider mites. Homemade organic pest control sprays are available on our website.
By following this guide as well as the one provided in your kit, you’ll be well on your way to a successful and enjoyable growing experience. Happy growing!